 Socialphotos
How to create a Shopify lookbook
Updated · By the Socialphotos team
A lookbook is a page of photos that shows your products in use: outfits worn together, a sofa in a living room, a bag on someone's shoulder. Shoppers see how things look in real life and can shop the items in each photo.
In short: for a few photos from your own shoot, build a lookbook page with your theme's sections. For a lookbook of real customers that keeps growing, collect customer photos with an app, tag the products in them, and add the gallery to a page.
We build Socialphotos, a customer photo gallery app for Shopify. The customer lookbook steps use it as the example.
Brand lookbook or customer lookbook?
- Brand lookbook: a handful of styled photos from your own shoot, usually for a new collection or season. You build it once with your theme.
- Customer lookbook: photos your customers take. It keeps filling up, needs a way to collect and choose photos, and shows shoppers people like them.
Many stores run both: a brand lookbook for each launch, and a customer lookbook that's always there.
Create a brand lookbook page with your theme
No app needed. This works in Online Store 2.0 themes, including Shopify's free themes.
- In Shopify admin, add a page called Lookbook and save it.
- Go to Online Store → Themes → Customize. From the page menu at the top, choose Pages → Create template and name it lookbook.
- Build the page from sections: an image banner for the cover, image with text or multicolumn for each look, and a featured collection so shoppers can buy the pieces. Some themes have a shop-the-look section with product hotspots; if yours doesn't, a lookbook app adds one.
- Back on the Lookbook page in admin, choose the lookbook theme template and save.
- Add the page to your main menu.
Ten to twenty strong photos, grouped by look or theme, are plenty. Link every look to its products, or the page is a mood board, not a lookbook.
Create a customer lookbook
A customer lookbook needs a few more steps, because the photos come from customers over time.
Where to put it
- Homepage: a carousel of customer photos below your hero.
- A dedicated page: for example "Customer photos" or "How you wear it", linked from your main menu.
- Product pages: each product showing the customer photos it appears in.

Step 1: Gather customer photos
Use whichever sources fit your customers. You don't need all of them.
- Instagram, by link: paste the link to any public Instagram post, from a customer, a creator, or your own account. No Instagram connection is needed. You can also connect your account to bring in posts you're tagged in, mentions, and hashtags. Instagram guide.
- Ask customers directly: many customers will share a photo but won't post it or write a review. Create an upload page and put its link in your post-purchase email, a message, or a QR code on your packaging. Customers upload photos and videos without an account. Collect photos after purchase.
- Photos you already have: upload photos customers emailed you, or content from another app, in bulk. Moving from Cevoid? We migrate your photos, product tags, and galleries.
Get permission before featuring someone's photo, and remove it if they ask.
Step 2: Choose the photos
A lookbook works because it's curated. New uploads aren't published automatically; you pick the photos that show your products clearly and in context, and put them in the order you want. Start with enough photos to fill a row or two on desktop and mobile, then keep adding.
Step 3: Make it shoppable
Tag the products in each photo. Shoppers who open a photo see the tagged products and can go straight to them, and each product page can show the customer photos it's tagged in. Product tags and product-page galleries are on the Advanced and Premium plans.


Step 4: Add it to your theme
In the Shopify theme editor, add the Socialphotos gallery block to your homepage or lookbook page, enter your gallery ID and save. Then, in Socialphotos, open the gallery and click Customize to choose a layout:
- Portrait carousel: tall cards that suit full-length outfit photos and vertical video.
- Horizontal carousel: a compact row for your homepage.
- Scrolling grid: a full lookbook page shoppers can keep scrolling.
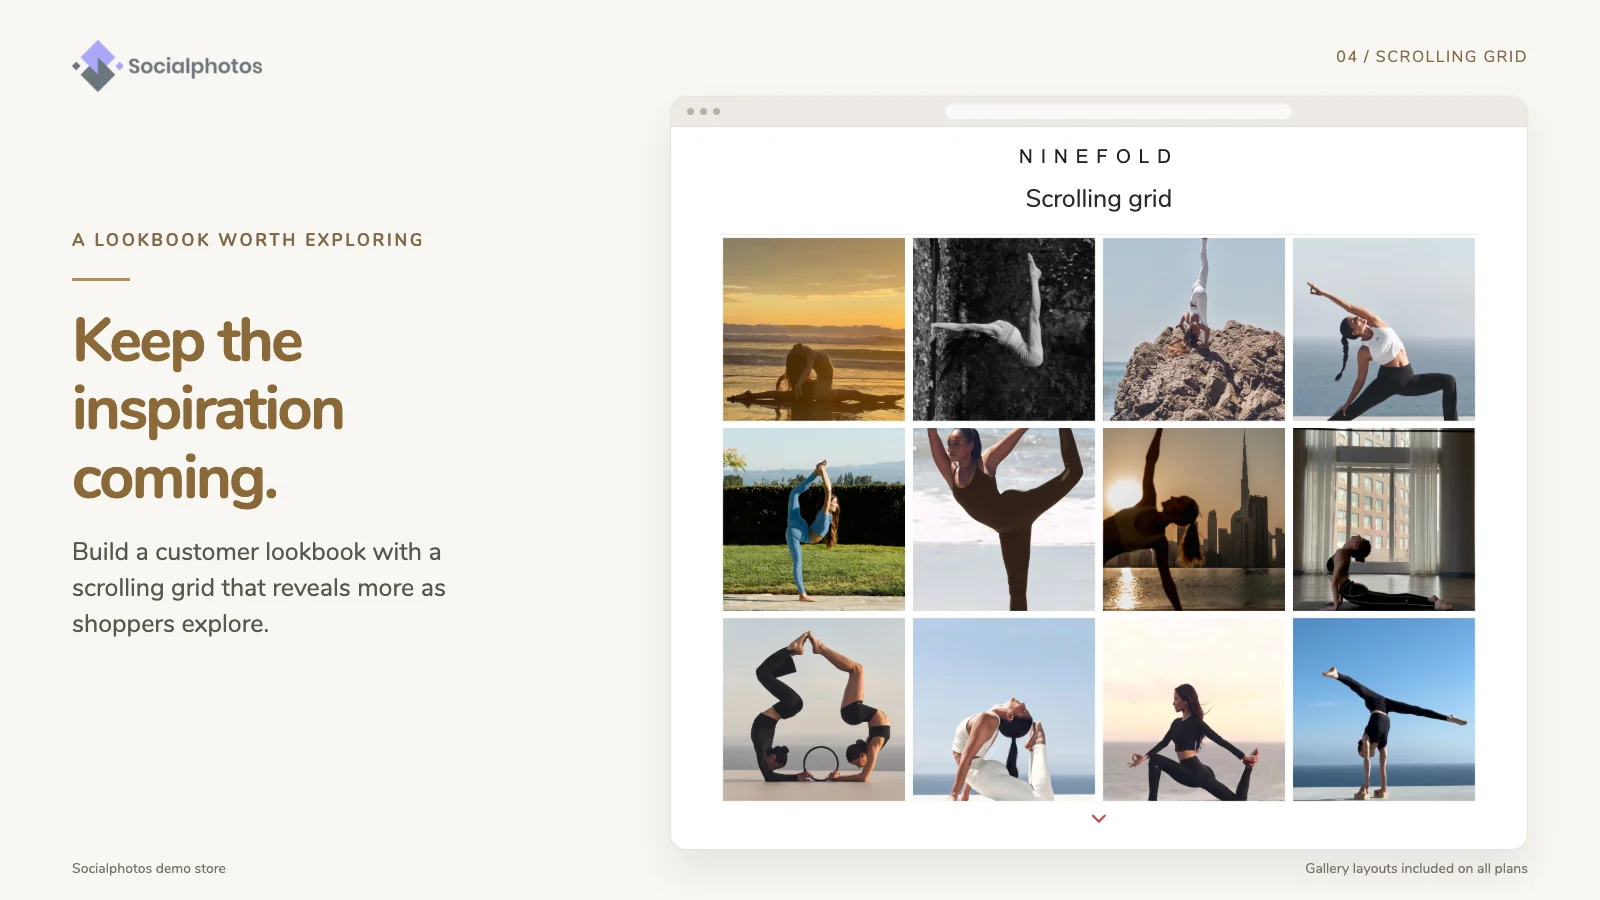
You can set different rows and photos per row for desktop, tablet and mobile. Setup guide · Customize your gallery.
Example
Customers upload photos from a link in the order confirmation email. You feature the best ones in a portrait carousel on the homepage, tag each product they're wearing or using, and each product page shows the photos it appears in. See a live example.
Frequently asked questions
Do I need Instagram to create a customer lookbook?
No. You can collect photos with an upload link or add photos you already have. Instagram links are optional, and don't need an Instagram connection.
Which Socialphotos plan do I need?
Page galleries (a lookbook page or homepage section) are on every paid plan, starting with Basic. Product tags and product-page galleries need Advanced or Premium, and video display needs Premium. Plans and pricing.
Can I use my theme's "Shop the look" section instead?
For a few photos from your own shoot, yes. For a lookbook built from many customer photos that keeps growing, you need a way to collect and choose photos, which is what a customer gallery app does.